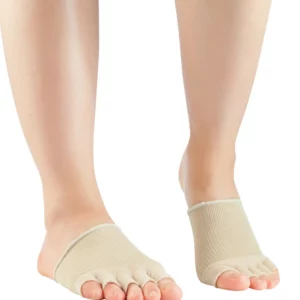
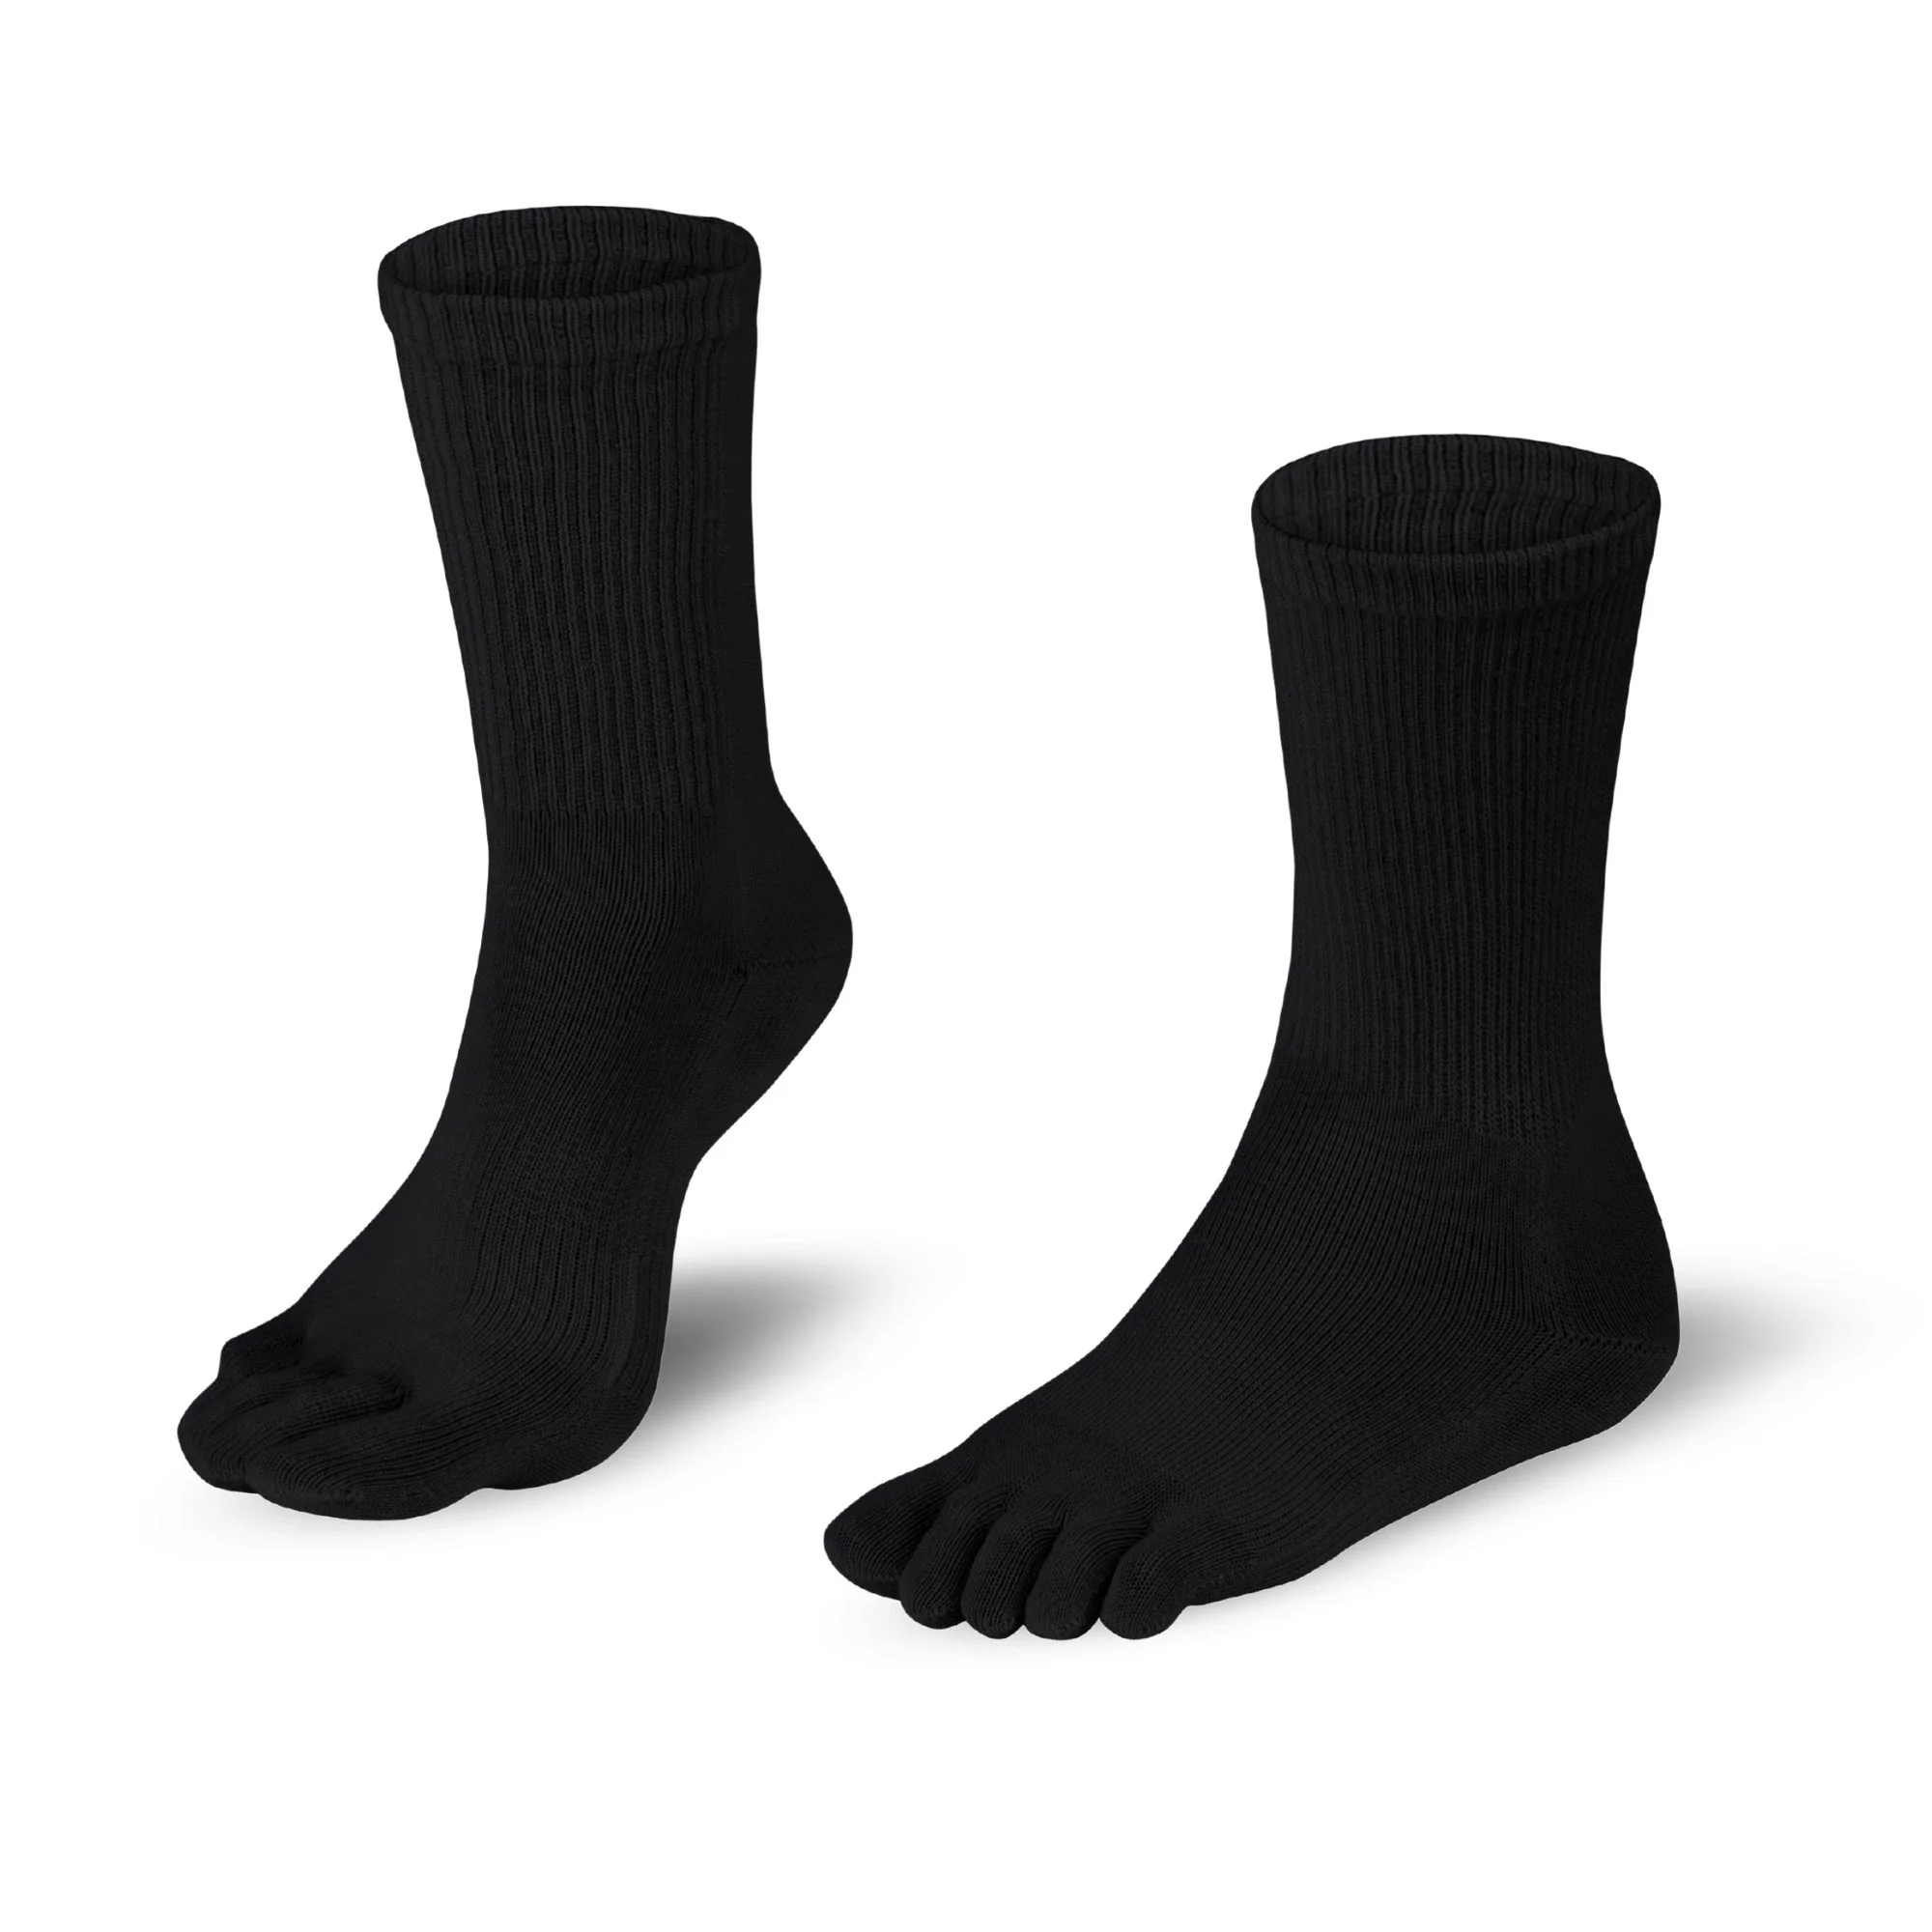

Knitido Dr. Foot Bunion Toe Socks mid-calf prevent Bunion and support the body’s self-healing.
Your advantages
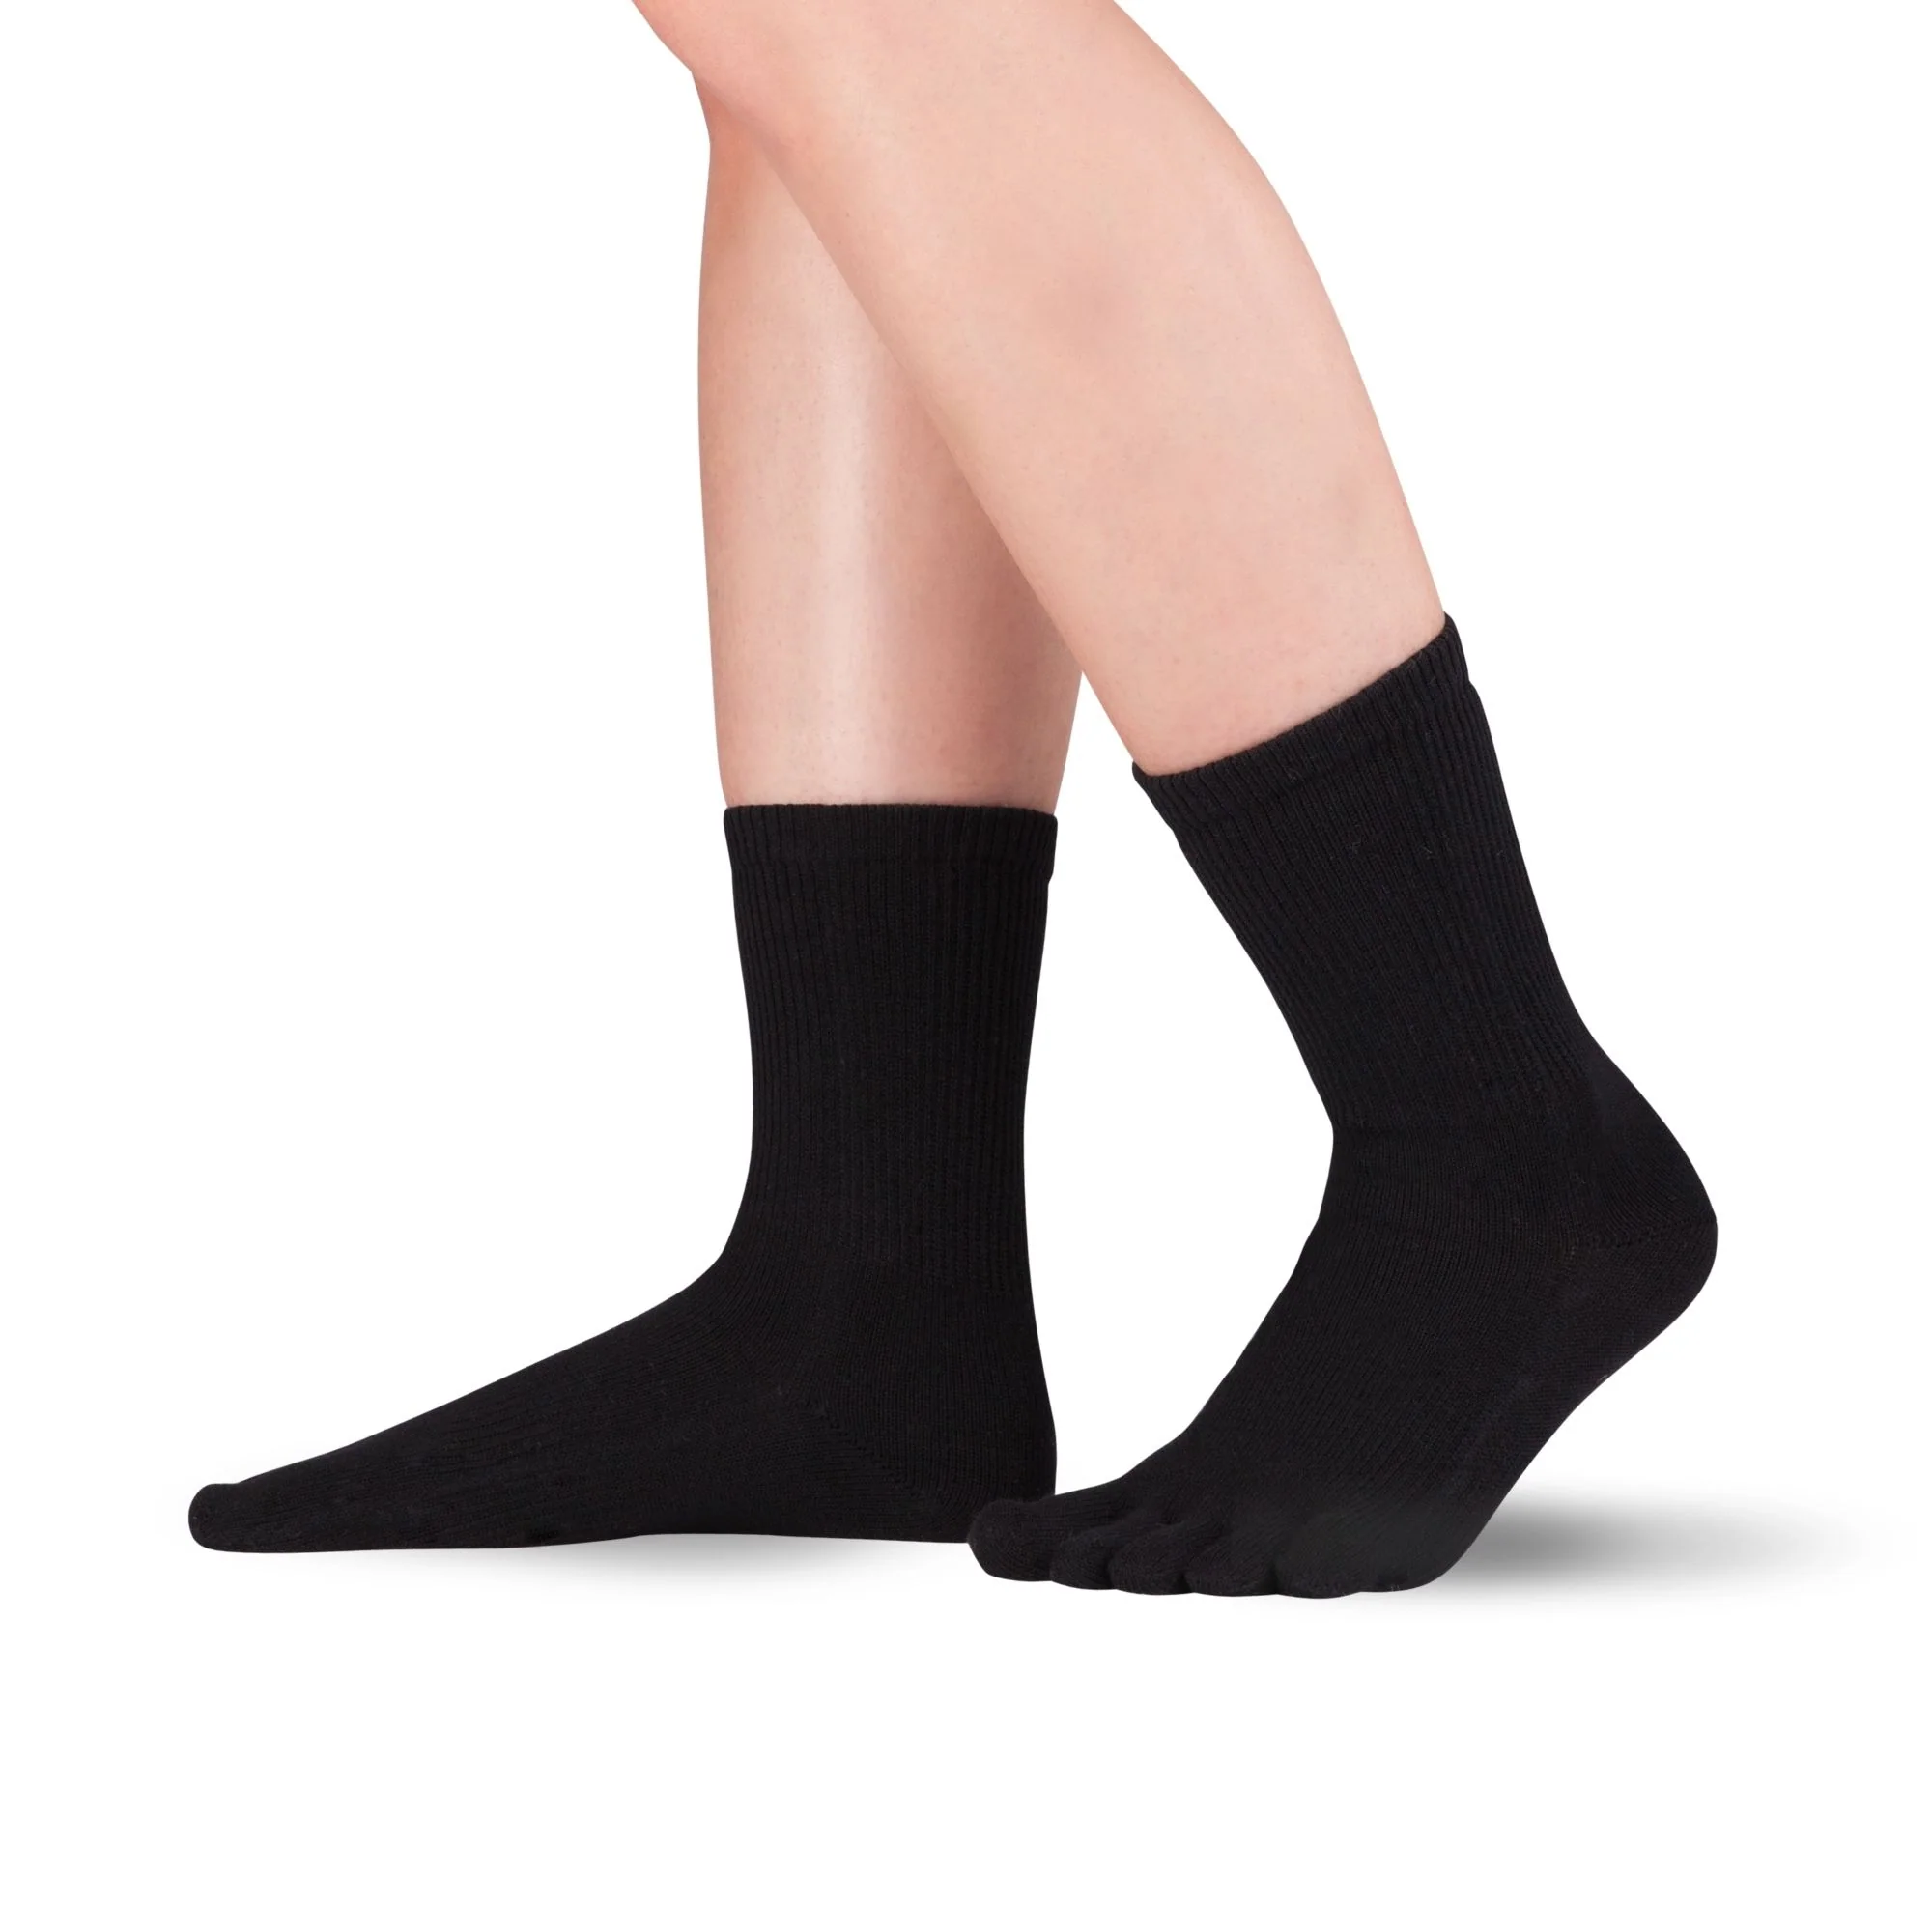
- Toe socks relieve the toe area from tensile stress.
- The toes gain mobility − which in turn relieves the lateral leg muscles and ensures relaxation.
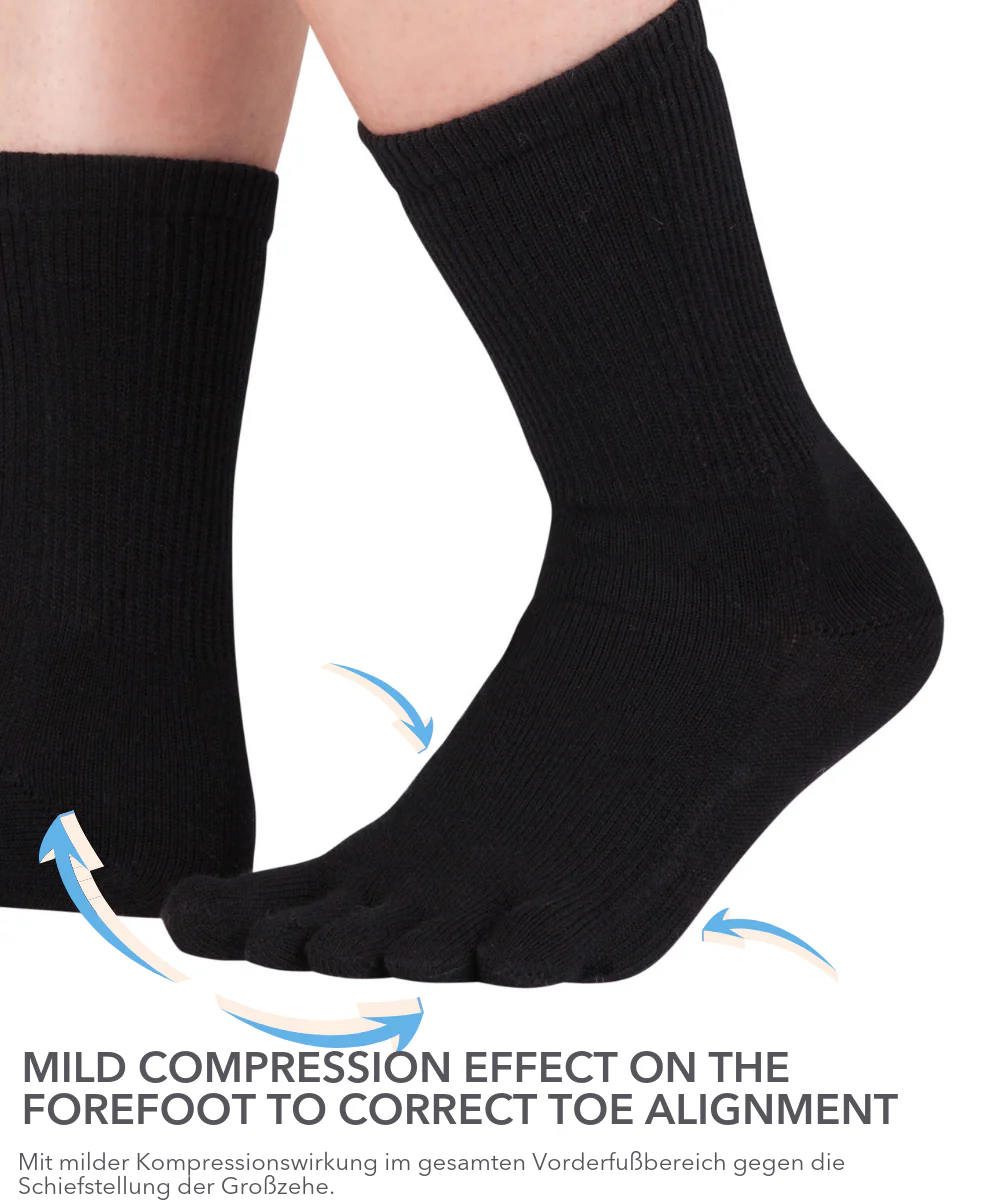
- A compression band on the forefoot supports the weakened muscles and ligaments that are responsible for the Bunion and leads to joint relief.
How Knitido Dr. Foot Bunion Toe Socks work
The product follows two approaches.
1. Toe separation
Separating the toes relieves tension in the arch of the foot. This allows the toes to move independently again.
This stimulates the sensory system, the toes move more, can become more flexible and stronger, and are reintegrated into the gait process.
The lateral muscles can recover from the constant strain. As a result, the muscles and tendons return to their natural starting position.
At the same time, you should actively work against your Bunion with appropriate exercises − your physiotherapist, chiropractor or podiatrist will be happy to support you.
2. compression on the joint affected by the Bunion
Thanks to a compression band, our toe socks pull the metatarsal bone, i.e. the joint affected by the Bunion , together. The light but constant pressure exerted on the bone causes the foot and big toe to spread slightly outwards by around 1°. Depending on the severity of the hallux, this can provide relief and further relieve the lateral muscles.
Unlike orthotics, for example, which correct the alignment of the foot by splinting it, Knitido takes the opposite approach: We free the toe area from tension caused by sack-like socks. In this way, our socks open up space for the self-healing process: the toes return to their natural position, move more and can strengthen themselves.
Material:
79% cotton, 15% nylon, 3% polyester, 3% elastane